Hi all,
I felt like making this page to easily show people the setup I use for receiving and processing shortwave radio signals!
My Aerials (aka antennas)

My primary aerial is made up of a single piece* of 1.5mm thick pure copper wire that is run out of my upstairs window to the bottom of my garden making it 18m long.
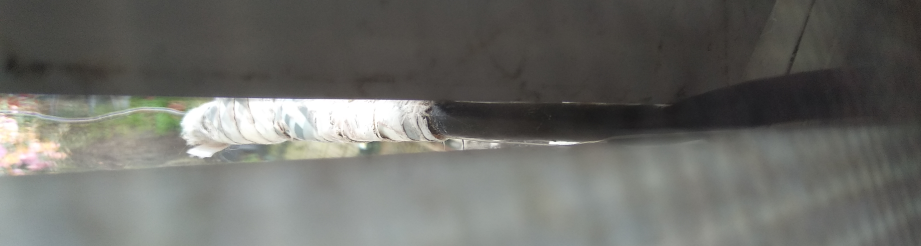
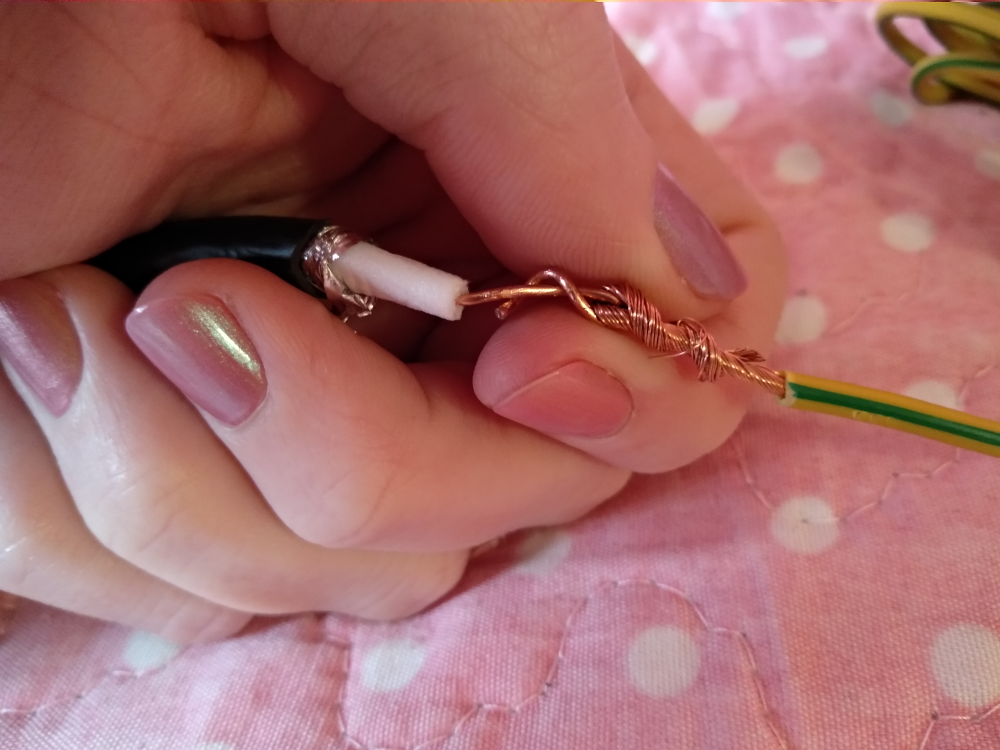
It cost me £11.75 to buy 20 metres of 1.5mm copper wire on eBay. I started by connecting the copper wire to a short piece of RG6 shielded coax cable by “hook and twist”ing each end, much like in the recreation image below. RG6 is a cheap and easy to find coax cable because it is usually used for satellite television signals.
After connecting the coax and copper wire together, I then covered the join in duct tape in an attempt to lessen the risk of corrosion from water ingress.
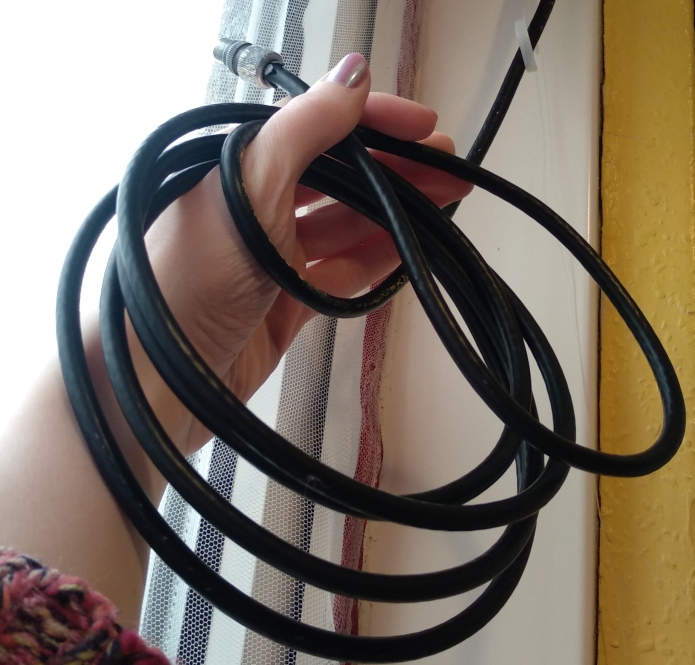
I use the window lock to trap the RG6 cable, keeping it secured from escaping (above).
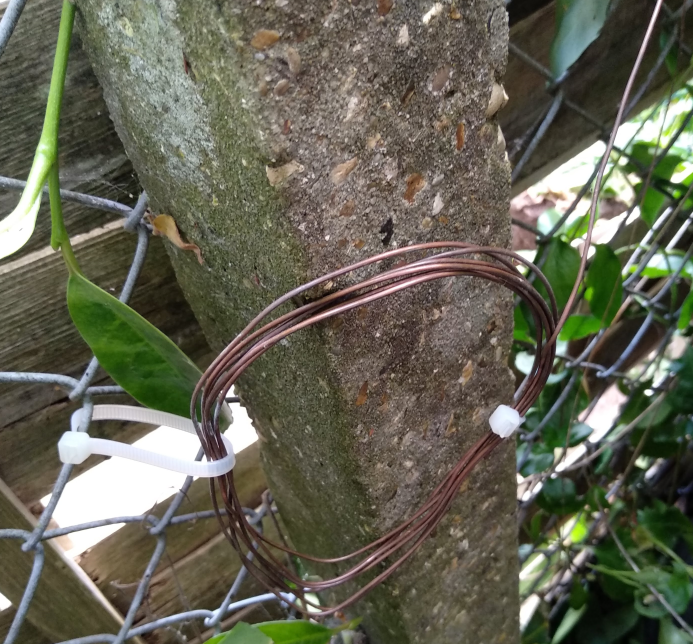
At the other end of the aerial, I coiled up all the spare wire and used zip ties to anchor it to a concrete fence post making sure that the wire does not touch any of the metal fencing! (above)
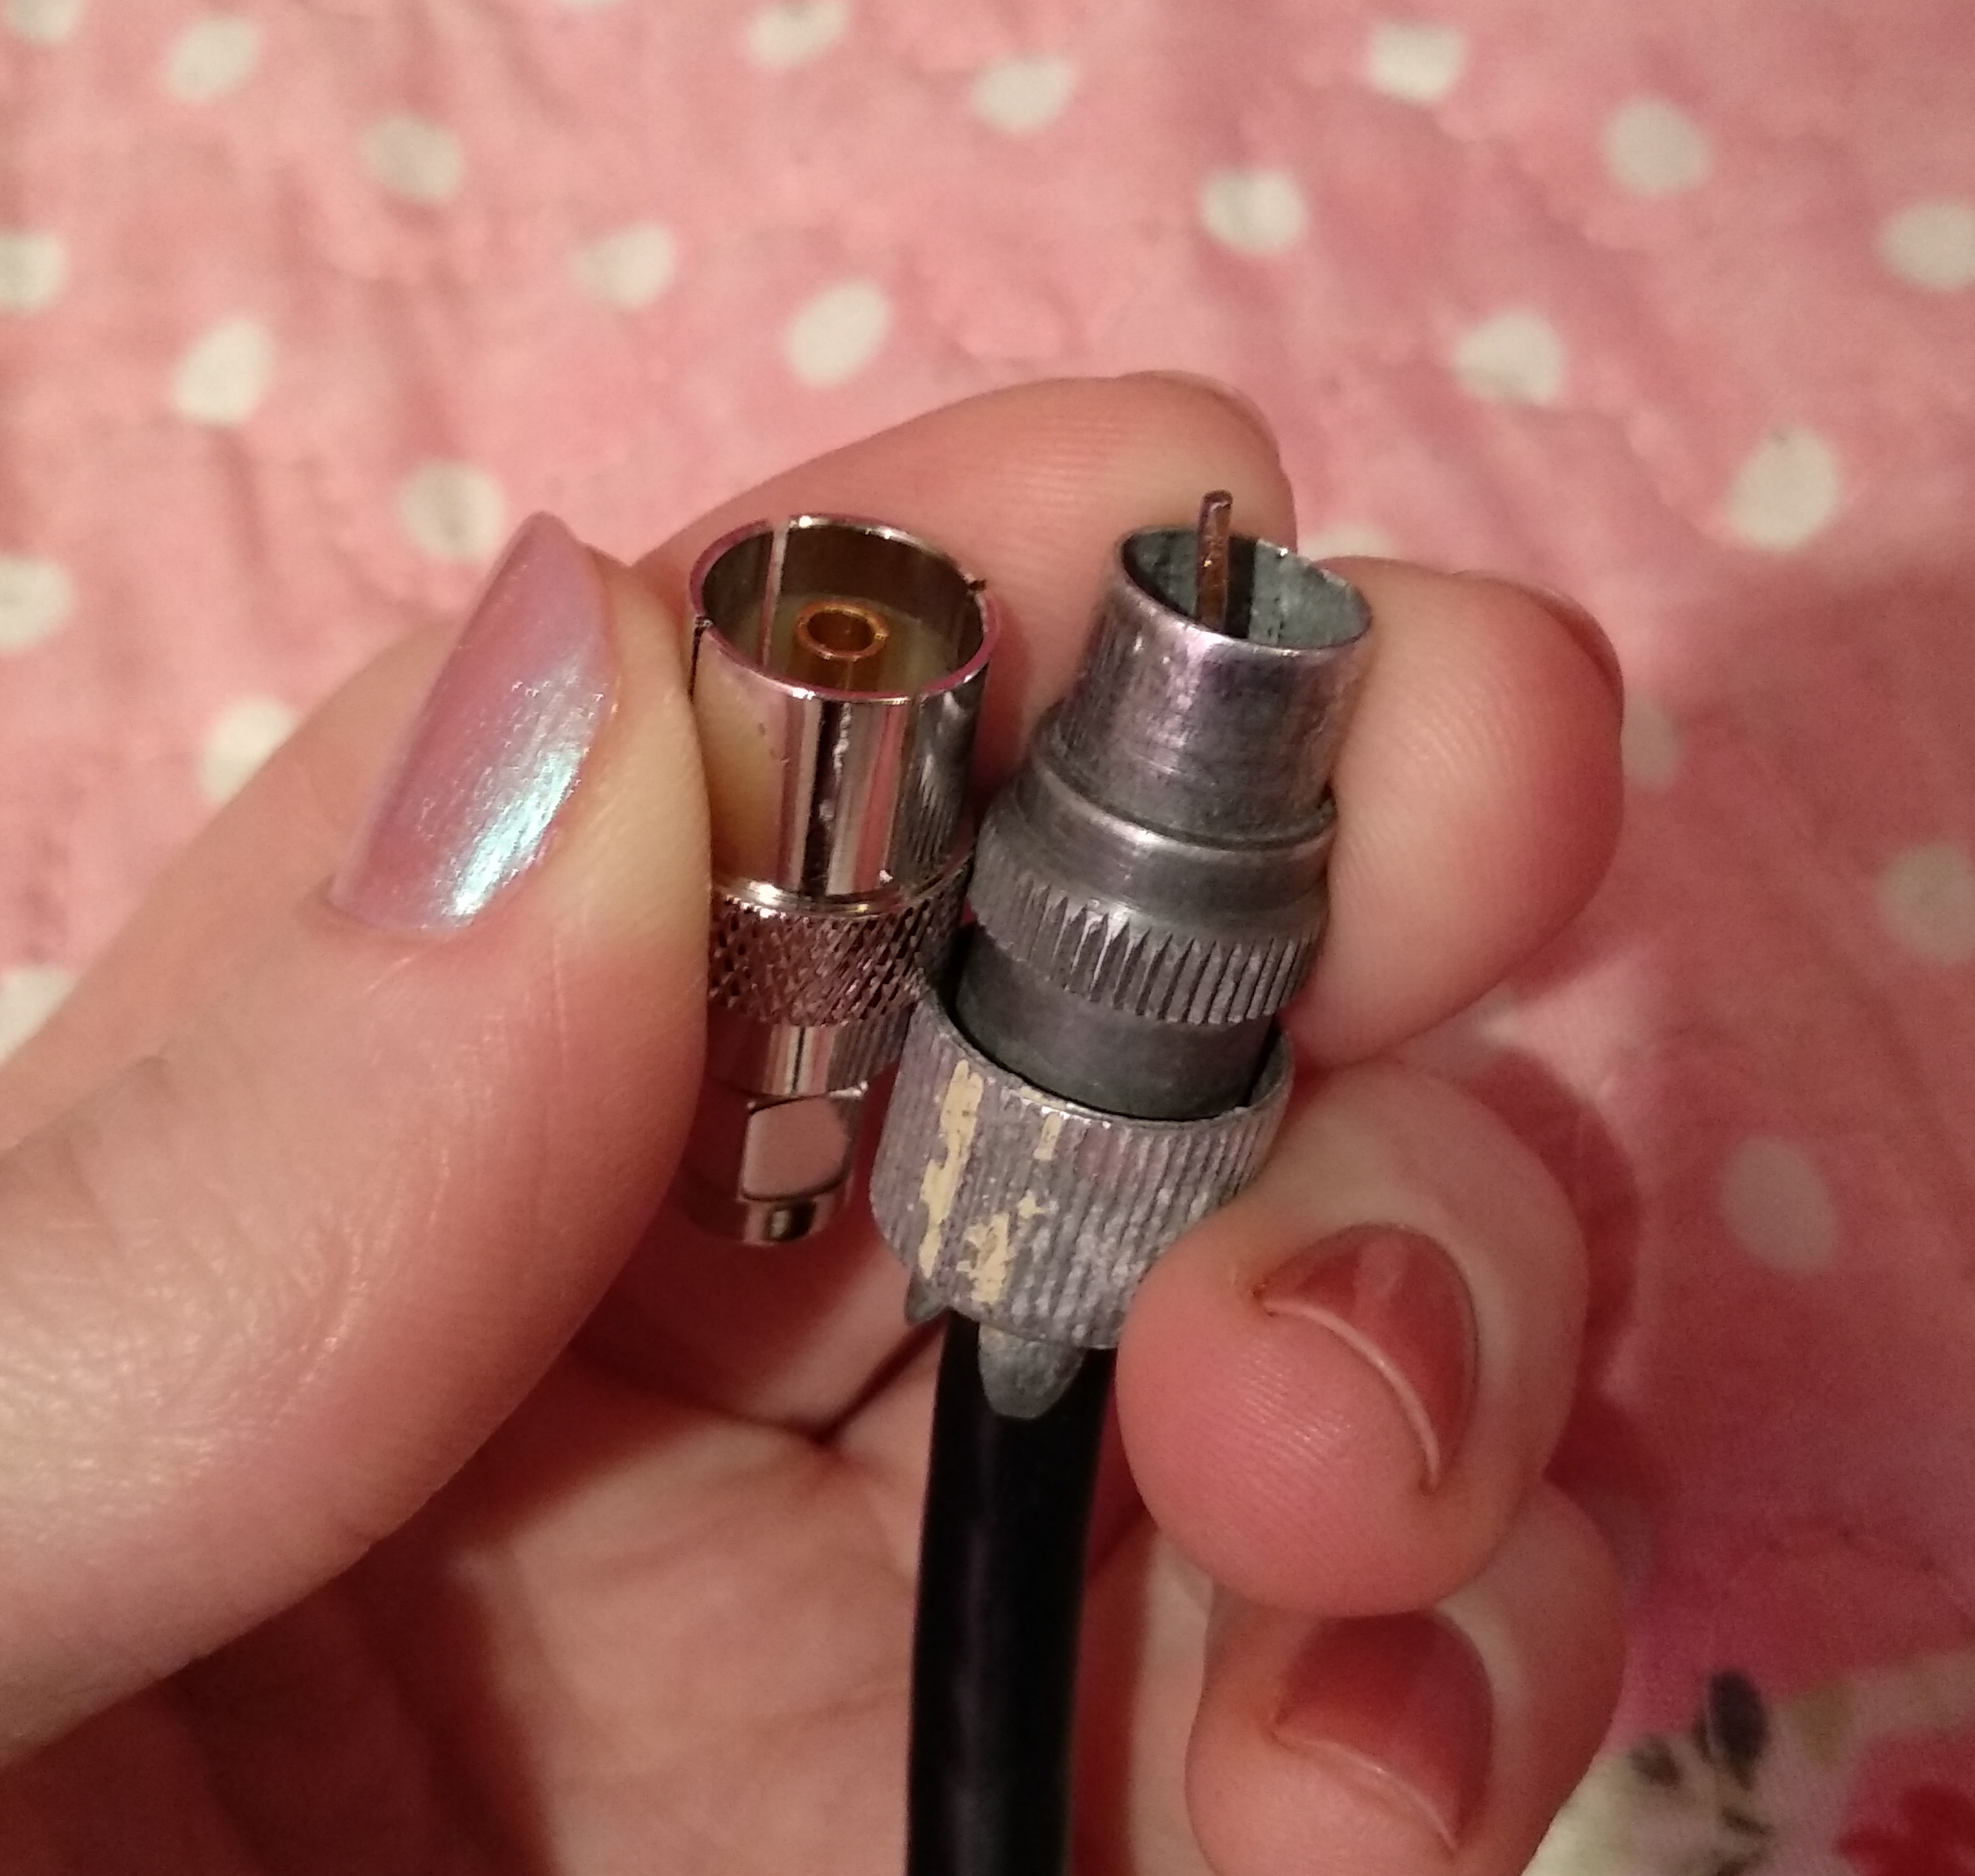
I lastly terminated the RG6 into a Belling-Lee connector, making sure to make the middle pin longer than it is supposed to be. Doing this means that you can use the connector in RCA sockets on portables (using easily obtainable 3.5mm to RCA adapters) as well as a Belling-Lee adapted SDR!
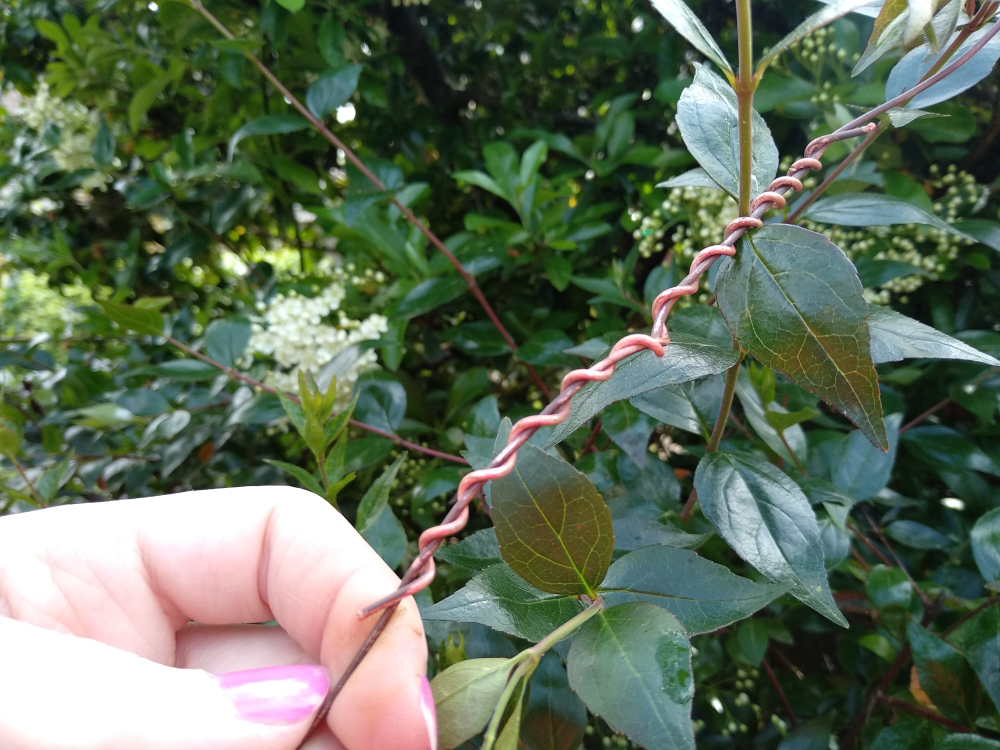
Sadly, in 2018 the wire got cut in two during hedge trimming and it has been “twist together” repaired ever since. This has luckily not seemed to affect its performance to date. 🙂
SLP-30 (MLA-30):
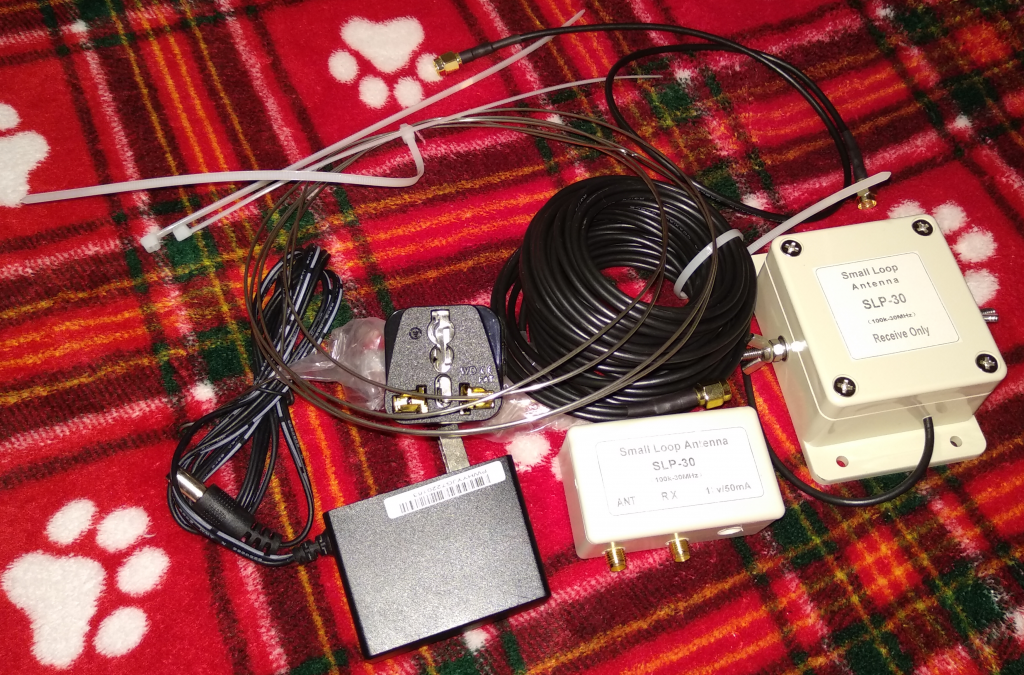


In 2020 I ordered an SLP-30 active loop antenna as a backup when lightning requires that I let down the main aerial. Despite being installed near ground level, with the gain pot set to maximum, it works surprisingly well and offers satisfactory signal on medium and strong strength broadcasts! I use a USB to barrel jack adapter to power the Bias-T or the SDRs built in Bias-T injector.
My SDRs (WIP)
Rose-Dolphin

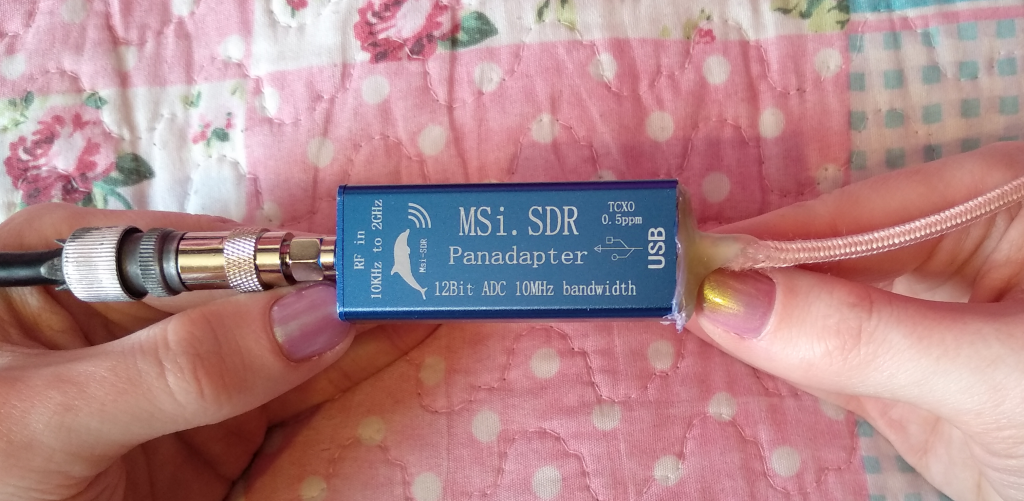
Rose-Dolphin is my current primary SDR receiver. It is a MSi.SDR Dolphin model bought in May 2020 that suffered with severe damage to the USB connector that required repair. The repair permanently attached a rose gold USB cable to the SDR leading to its name, Rose-Dolphin!
Being an MSiSDR RSP1 clone, I have seen SNRs of over 84dB on this SDR and it is hard to overwhelm with strong signals leading it to be one of my favourites for using as a timer recording SDR!
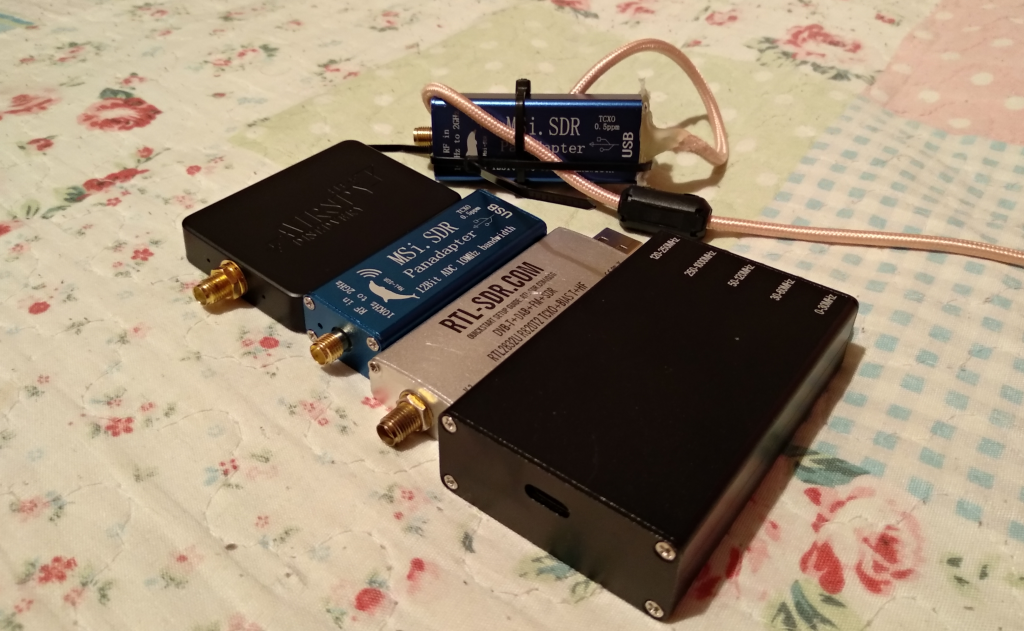
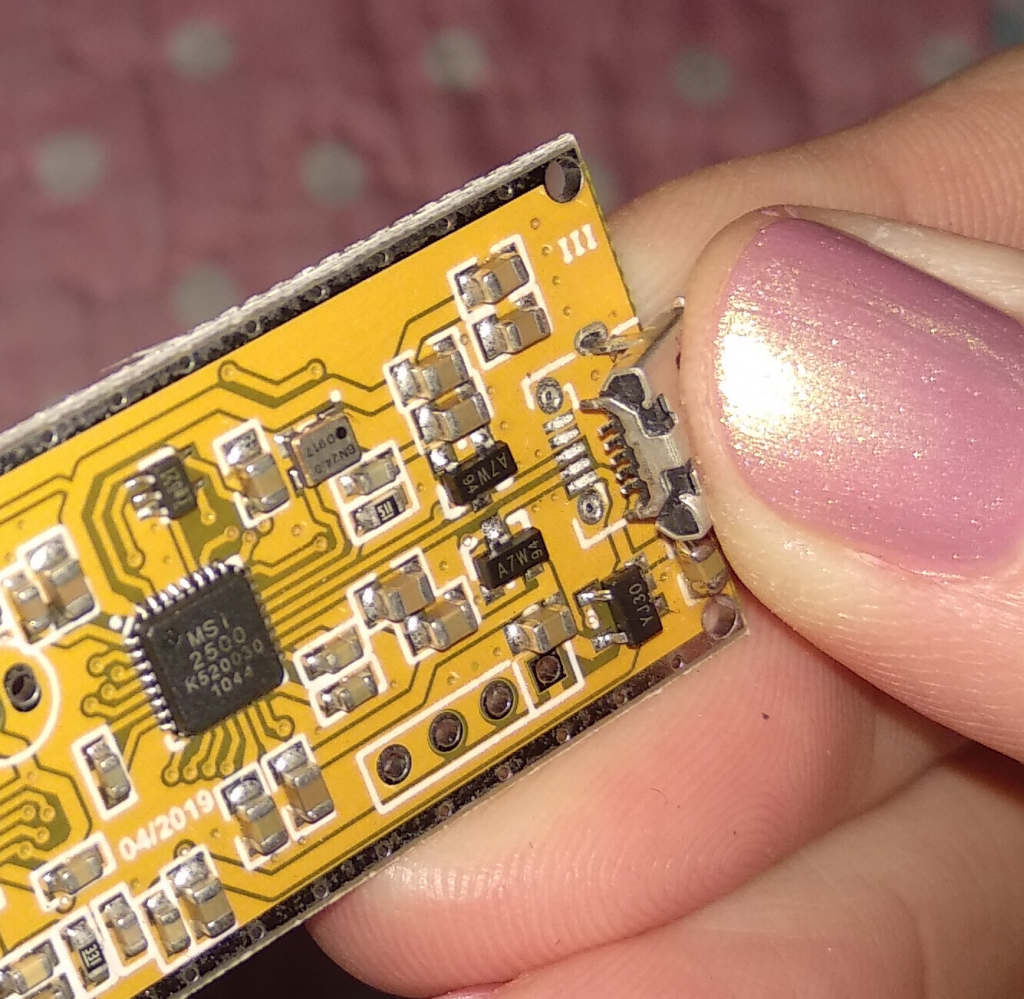
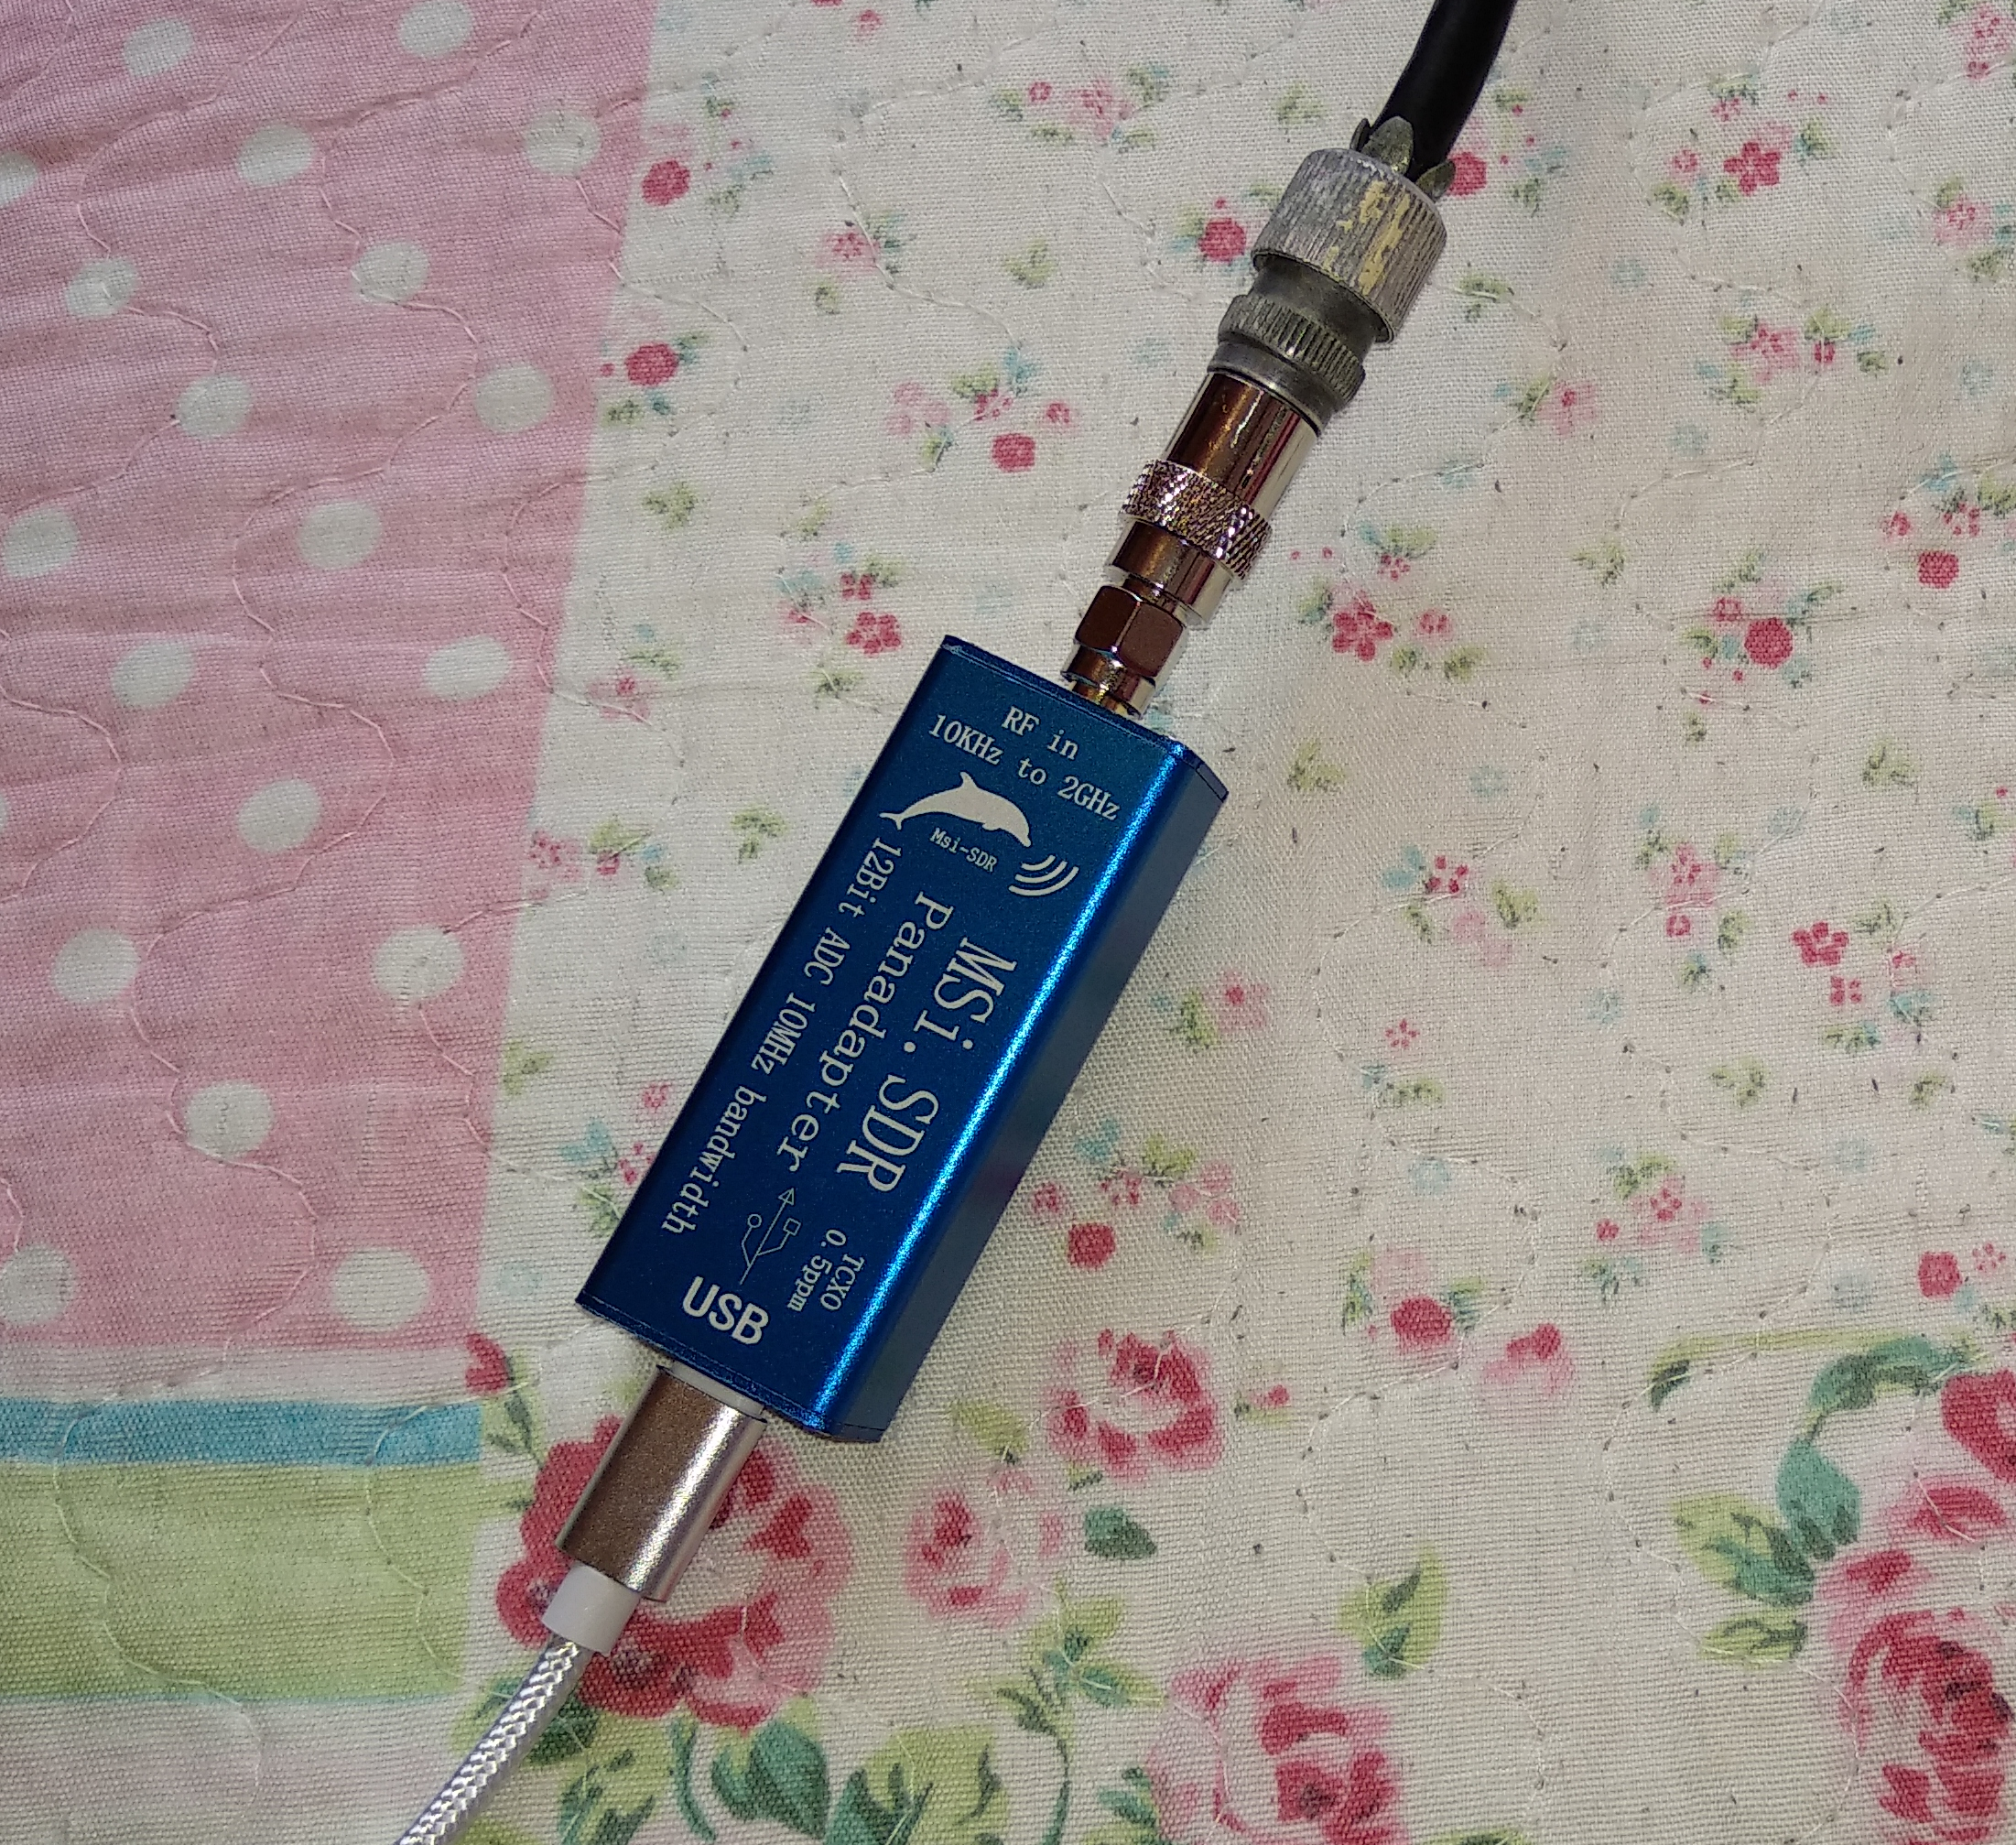
Motherland
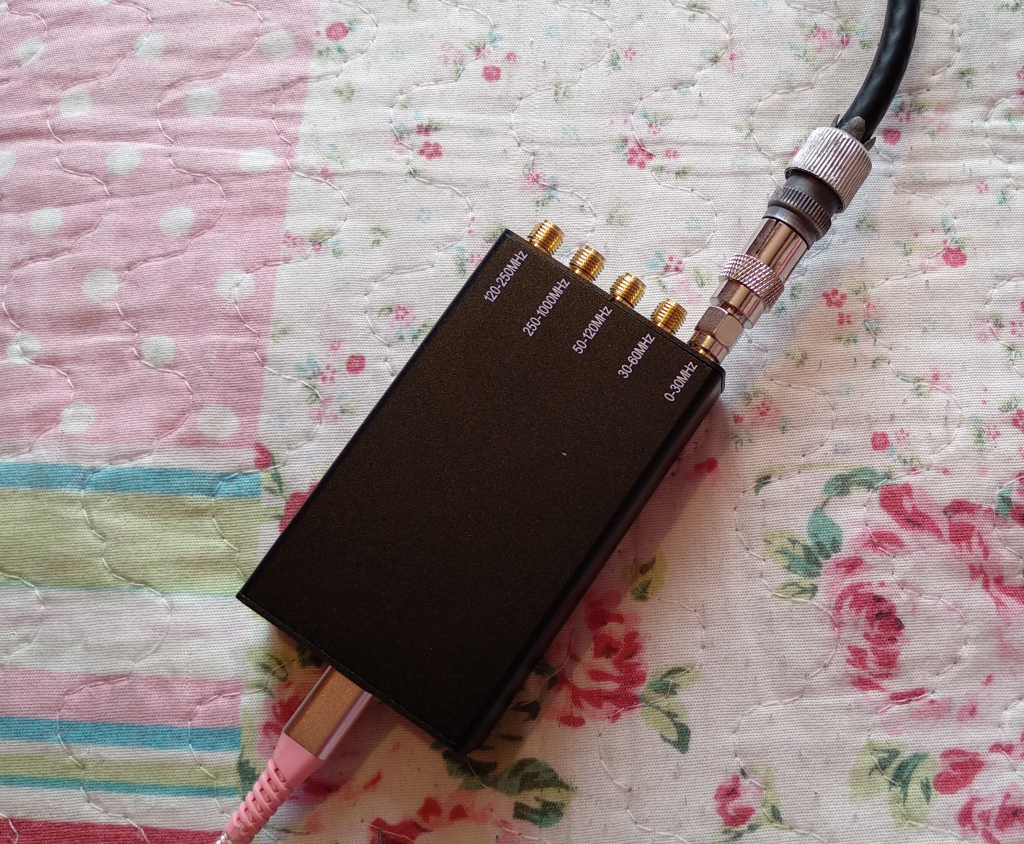
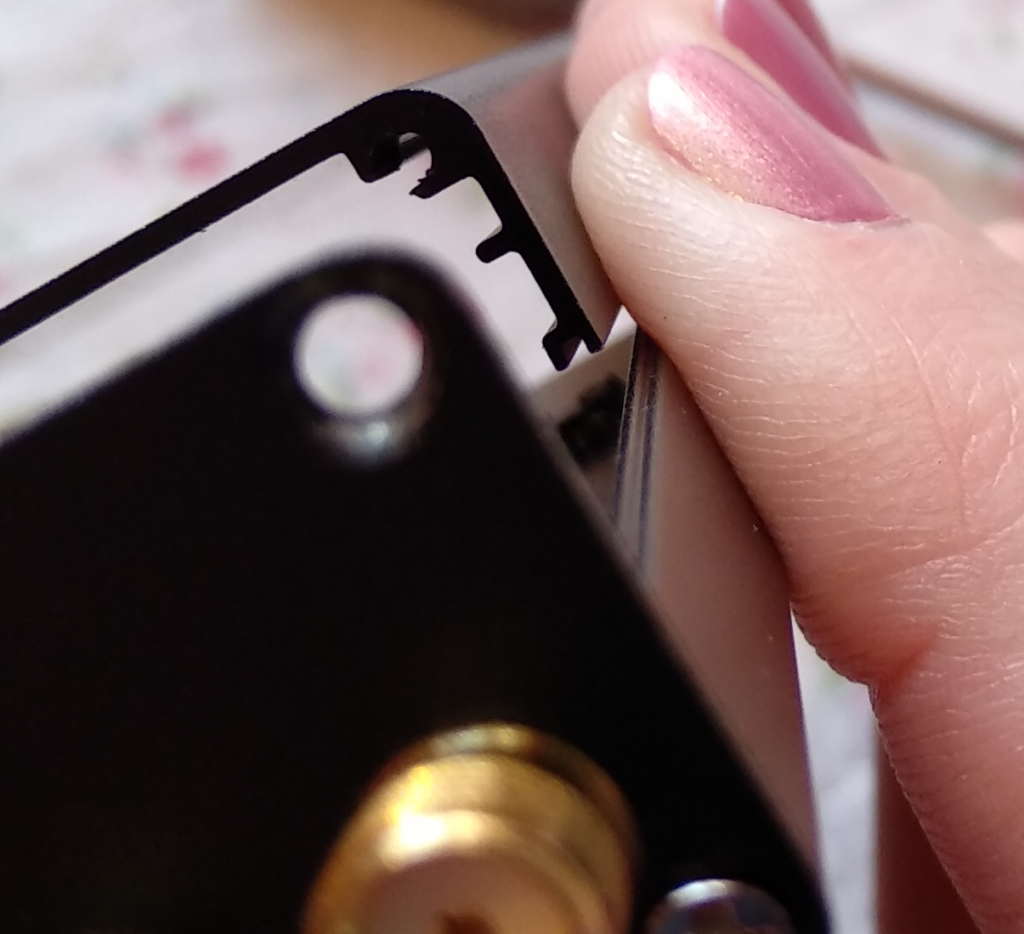
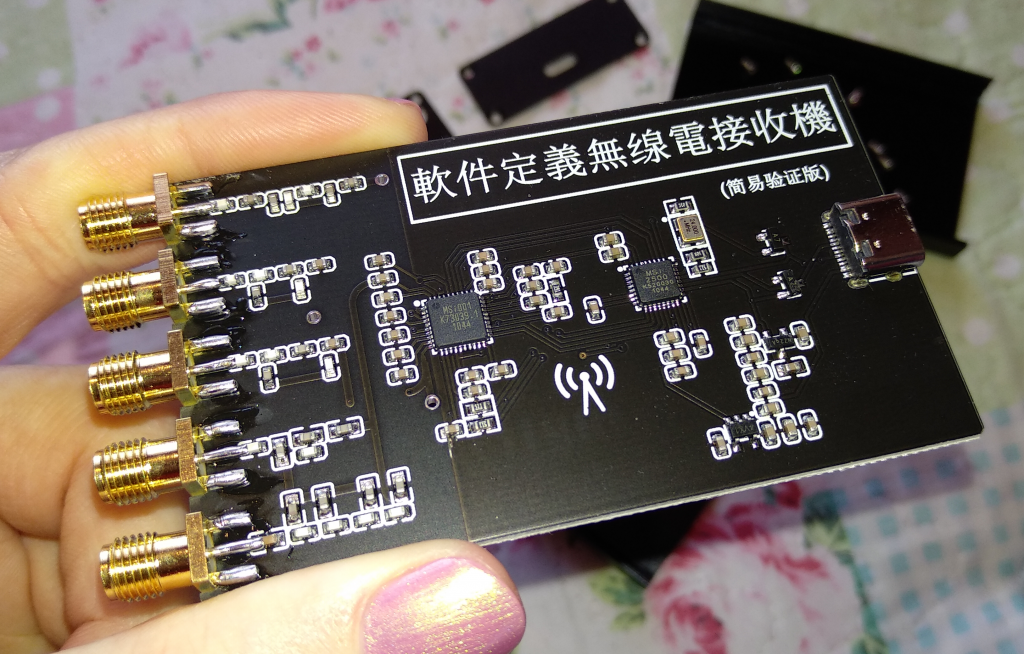
Motherland is one of the latest generation of MSi.SDR RSP1 clones. This model is very very cheap, commonly under $15, and as such lacks some of the filtering found in the dolphin versions. The version I have is housed in this really nice aluminium case that even has rails (pictured) to keep it together.
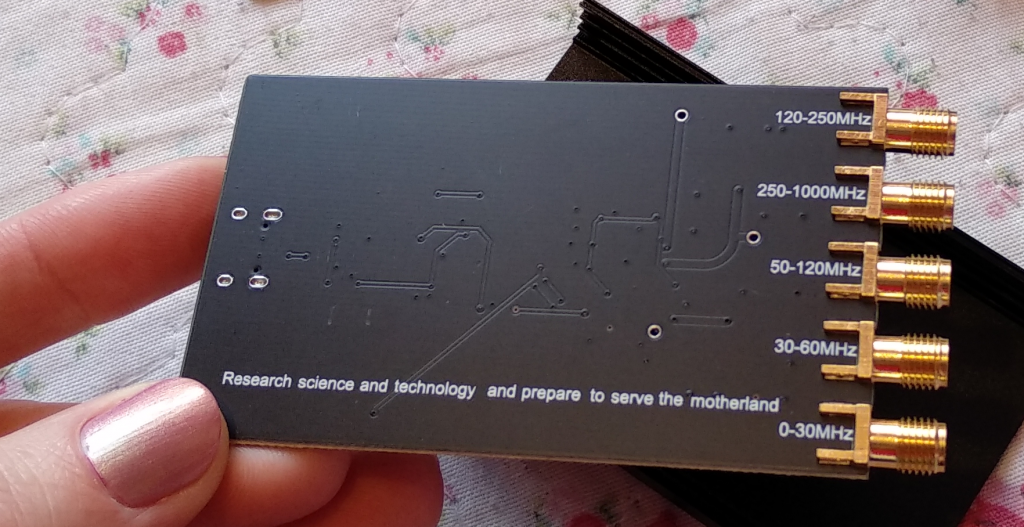
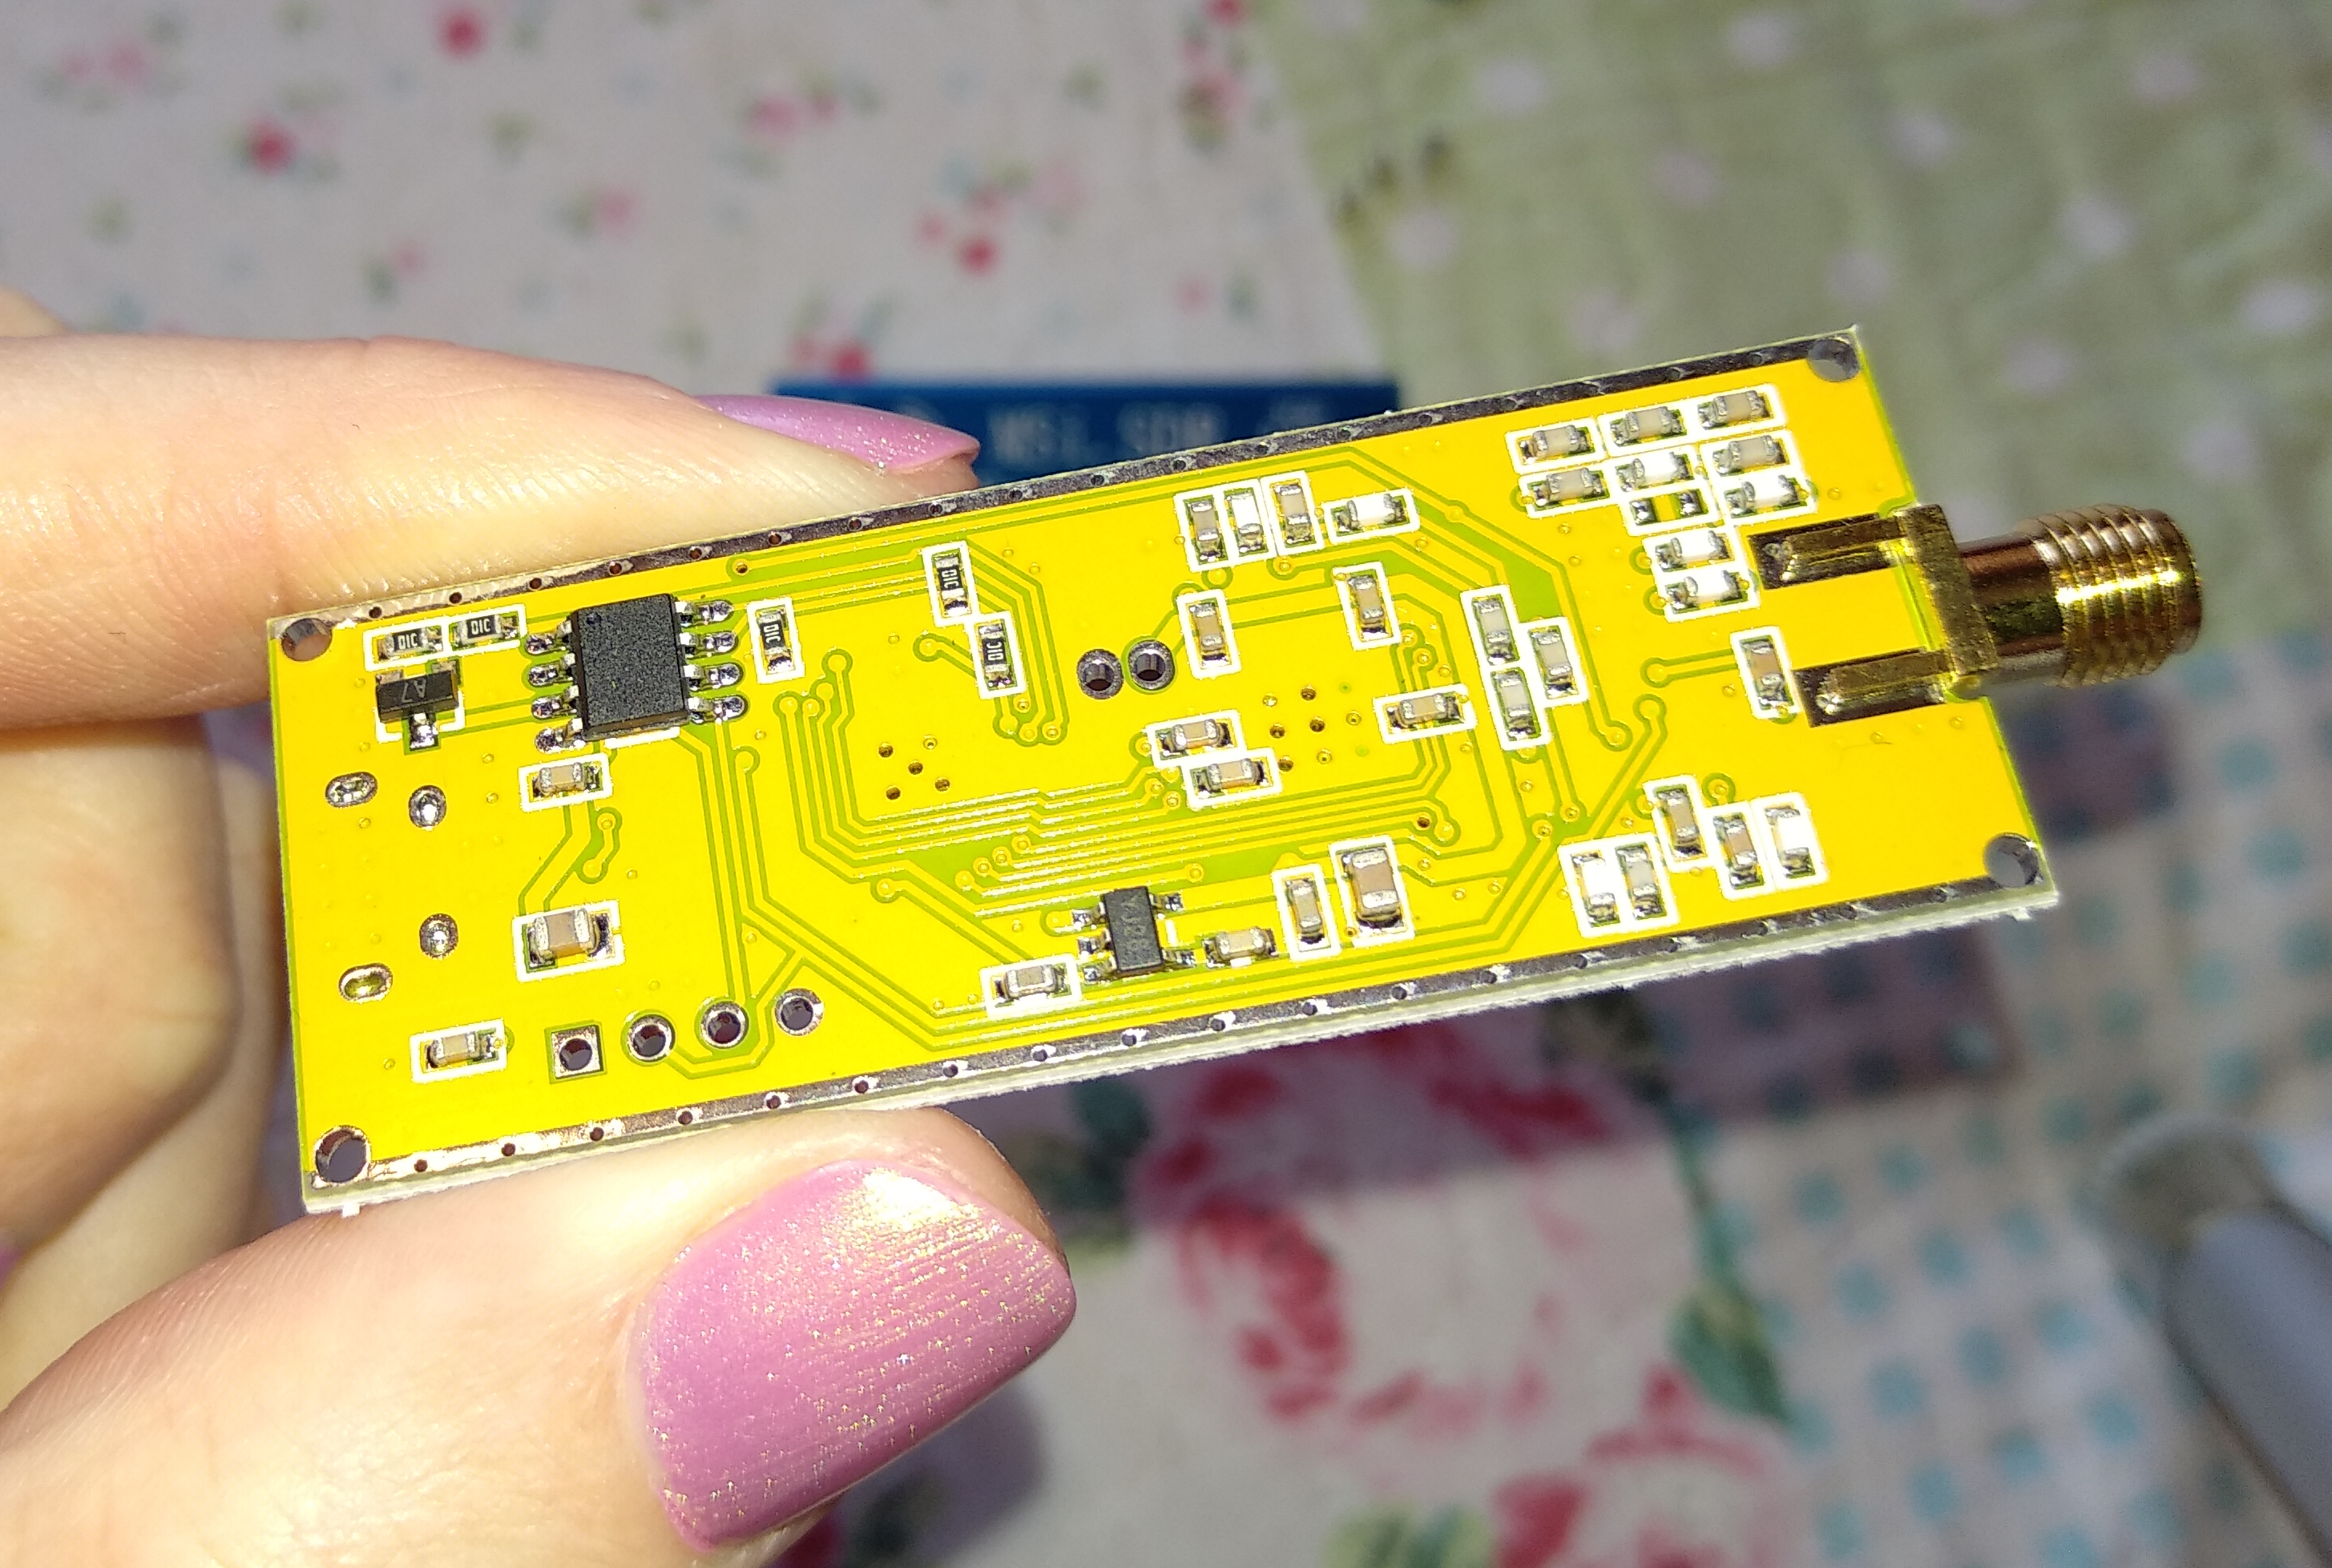
It has band pass filters on all of the 5 inputs to ease overloading from out-of-band signals however it still is repeatedly the worst performing of the RSP1 clones. It gets the name “Motherland” for having “Research science and technology and prepare to serve the motherland” written on the back of the PCB!
RTL-SDR v3
This was my first “proper” SDR and it got me properly started in my radio hobby! This stick holds a fond place in my memory and it is still quite a capable SDR despite being based on the RTL chip. In direct sampling it is able to achieve around 74dB SNR before overloading on HF! I bring it out for comparisons with other SDRs and I’m always pleasantly surprised just how well this does for such a cheap stick!
Blue-Dolphin

This was a replacement I ordered when Rose-Dolphin broke as I felt that I didn’t have the ability to fix Rose-Dolphin. Thankfully I was wrong and now this is another SDR in the testing pool. It performs similarly to Rose-Dolphin but is a bit different which is interesting. The colour of the case is also a lighter shade of blue!
Here is a comparison of all of my SDRs in what matters the most to me:
| SDR | Idle power | In use power | max observed snr on hf* | Imagining / Ghosting / RFI levels. lower is better |
|---|---|---|---|---|
| Rose-Dolphin RSP1 Clone | 0 – 0.35w | 0.62w | 78+dB | Low-Medium: Single tones / spikes |
| Motherland RSP1 Clone | 0 – 0.49w | 0.6w | – | Medium: Single tones / spikes & ghosts |
| Blue Dolphin RSP1 Clone | 0 – 0.35w | 0.62w | – | Low-Medium: Single tones & spikes |
| RTL-SDR blog’s v3 | 0.6w | 0.44w (Direct Q) 1.35w with tuner | 74+dB | Medium-high |
| Rose-RTL-v2 | 0 – 0-17w | 0.47w | 63+dB | High: Tones, ghosts, FM & HF images & the 14.4MHz ‘mirror’ |
| Airspy HF+ Discovery | 0.8w | 1.75w | 88+dB | Low: Not noticed any so far! |
SDR Software
I use 2 pieces of SDR software on a near daily basis. I use HDSDR to record broadcasts with my laptop running on battery with the screen off by using its programmable timers system (Details here) and I use SDR# to playback the recordings made in HDSDR with its DSB mode (aka LSB + USB rather than distorted conventional AM mode) and IF Noise Reduction system which is easily better than the competition’s offerings.
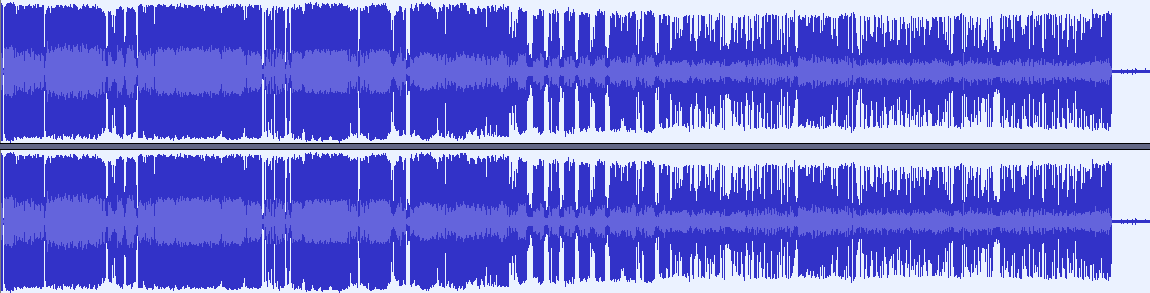
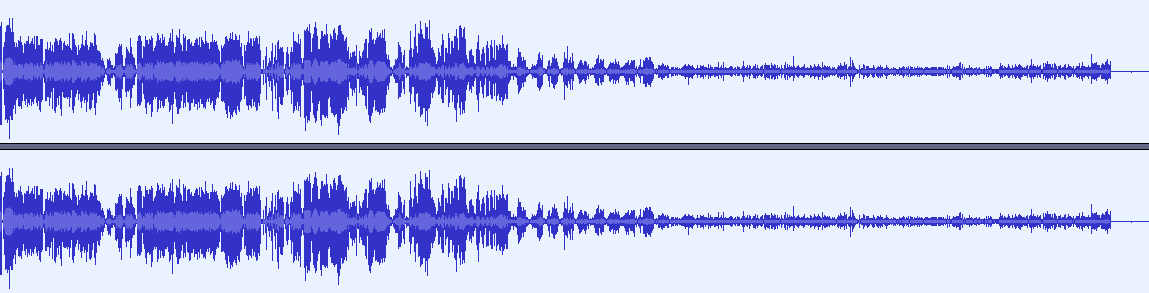
Here is an example using conventional demodulation methods and then using SDR#’s DSB + IF NR system:
I have contributed some NR profiles to SDR# which are Rose’s 4kSW, Rose’s 8kSW & Rose’s 16kSW. I tend to solely use 16k nowadays however it does demand more CPU power so for those using weaker systems, 4k works very good too!
Audio Processing (After SDR#)
Compression:
Compression makes the volume of the audio more even and comfortable to listen to. Much like an AGC in the SDR software but with the benefit of being settable after the broadcast to tune it better! The downside is that compression will always raise the noise level so setting it to raise audio while not raising the noise floor more than is needed takes practice!